
Go To Recipes
Light, crunchy and melt-in-your-mouth angel candy (also called honeycomb or sponge candy) gets an update with a hypoallergenic chocolate coating! You will need a candy thermometer for this recipe, but don’t let that deter you.
It’s actually much easier than you think and the results are 100% worth it.
If you go into a store where I live during the holidays, you can be sure there will be a container of angel food somewhere near the main entrance.
You can even buy it at the local farm and tractor store, ha! But store-bought versions usually contain preservatives and always contain the least amount of dairy in the chocolate coating.
I had an old recipe in my recipe box (I suspect it was from a relative, but memories are hazy!) but for years I was too scared to try it. I was hooked on the single fact that I needed a candy thermometer.
Don’t worry, dear readers! I experimented a bit and came up with a few tricks that make making angel food easy. Or a piece of candy.
Tips for making delicious angel food treats
> Use a very heavy pan. Sugar burns very easily. The thicker the pan, the better heat distribution and the lower the risk of hot spots. I used a 3 liter barrel for my candy as the curved sides were perfect for stirring and whipping.
> Make it easy for yourself. You stand there, move and look a lot. Use this time to reflect on why you chose to do this. Remember the end goal.
> Use a candy thermometer. If you don’t have one, they aren’t too expensive and are very useful. Buy one that has all candy levels (hard crack, caramel, etc.) clearly marked on the side.
Pro tip: Attach the candy thermometer to the side of your pan before you heat it.
> Use a spatula to stir, but use a whisk to add the baking powder. The spatula will help you scrape down the sides of the pan as the sugar dissolves, while the whisk will ensure that the baking powder is absorbed more quickly at the end.
Make sure you have your whisk and measured baking powder ready before you boil the sugar.
> Use a silicone container. If you have a silicone baking sheet, now is the time to use it. You don’t even need to grease it, just pour the candy over it to cool it down! But if you don’t have one, you can grease a regular baking sheet and everything will be fine.
> Don’t spread the caramel with a spatula. Let me say that again. DO NOT spread the caramel with a spatula after pouring it onto the baking sheet.
This will dissolve all the nice bubbles you just created with the baking powder and you’ll end up with a very hard, plain fudge. Tasty, but not what we want here.
> Make cleaning easier by cooling the empty pan and then pouring hot water from the tap. Let the water sit for at least 30 minutes to dissolve the sugar stuck to your pan and candy thermometer, and then scrubbing is easy!
Make angel food treats hypoallergenic for you!
As written, this recipe contains very few ingredients, so there isn’t much to change around.
For the chocolate coating, we use pure Enjoy Life chocolate chunks and rice milk chocolate chunks to keep it hypoallergenic.
(They are not sponsoring this post, we just love their chocolate chips!!) You can use whatever is safe for you and available in your area.
Ingredients
>1 c. granulated sugar
>1 c. Dark corn syrup
>1 tbsp. distilled white vinegar
>1 tbsp. sodium
>2-3 (9 oz.) bags of hypoallergenic chocolate chips
Instructions
1. Prepare your ingredients and equipment: Combine granulated sugar, dark corn syrup, and vinegar in a heavy pot (at least 3 quarts).
Measure out your baking powder (don’t put it in the pan yet!) and use a whisk to reserve it for later. Prepare a 9 x 13 inch (or larger) baking sheet by placing a silicone liner on it or greasing it with cooking spray or vegan margarine.
2. Attach your candy thermometer to the side of the pan, place the pan on the stove and turn the burner to medium.
The mixture will become transparent, and if you rub some of the mixture between your fingers (do this VERY gently, remove the spatula for a second and let whatever is stuck to it cool before touching it), you can no longer feel any sugar grains.
3. Once the sugar has dissolved, remove the spatula and cook the sugar, without stirring, until the candy thermometer reaches 300 degrees Fahrenheit (hard crack). This can take 5 to 15 minutes depending on your stove and pan. So don’t go anywhere and keep an eye on it.
4. Immediately remove the saucepan from the heat and now you can get started very quickly! Remove your candy thermometer from the pan (if needed) and set it aside. Sprinkle baking powder over the surface of the cooked sugar mixture.
Using your whisk, quickly beat in the baking powder until the candies are lighter in color and there are no dark brown streaks left.
This lathers quite heavily and looks like a science experiment. Immediately pour the mixture onto the baking sheet as evenly as possible and do not spread it with a spatula or other utensil.
Just pour it out and let it sit so there are no air bubbles from the baking soda.
5. Allow the sugar mixture to cool and set for at least 30 minutes to an hour. Then use your hands to break it into pieces (it will be messy, but you can save any little shards for ice cream garnishes or cake toppers!).
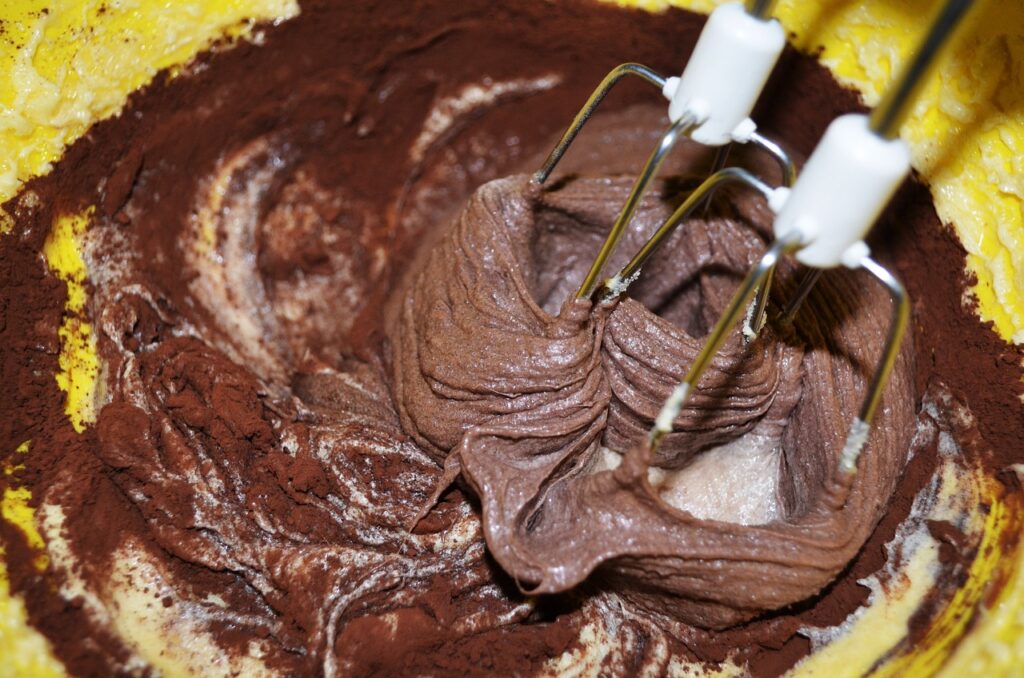
6. Melt your chocolate chips by placing them in a microwave safe bowl and cook for 30 seconds. Stir and cook for another 30 seconds. Stir vigorously and, if necessary, microwave the chips again for 10 seconds at a time until they are completely melted.
Full disclosure: I’m bad at tempering chocolate and there are tons of people with great tutorials if you want more info on it!
7. Dip the angel food candies into the melted chocolate until completely covered, then place on wax paper or a silicone baking sheet to cool. It’s cold in our neighborhood around the holidays, so I put my baking sheets on a shelf in the garage to cool off, ha!
8. Store in an airtight container and enjoy! It is best to store these candies in the fridge as the candies can absorb moisture and become chewy.